Step 1: Materials

Step Two: Slice and Dice
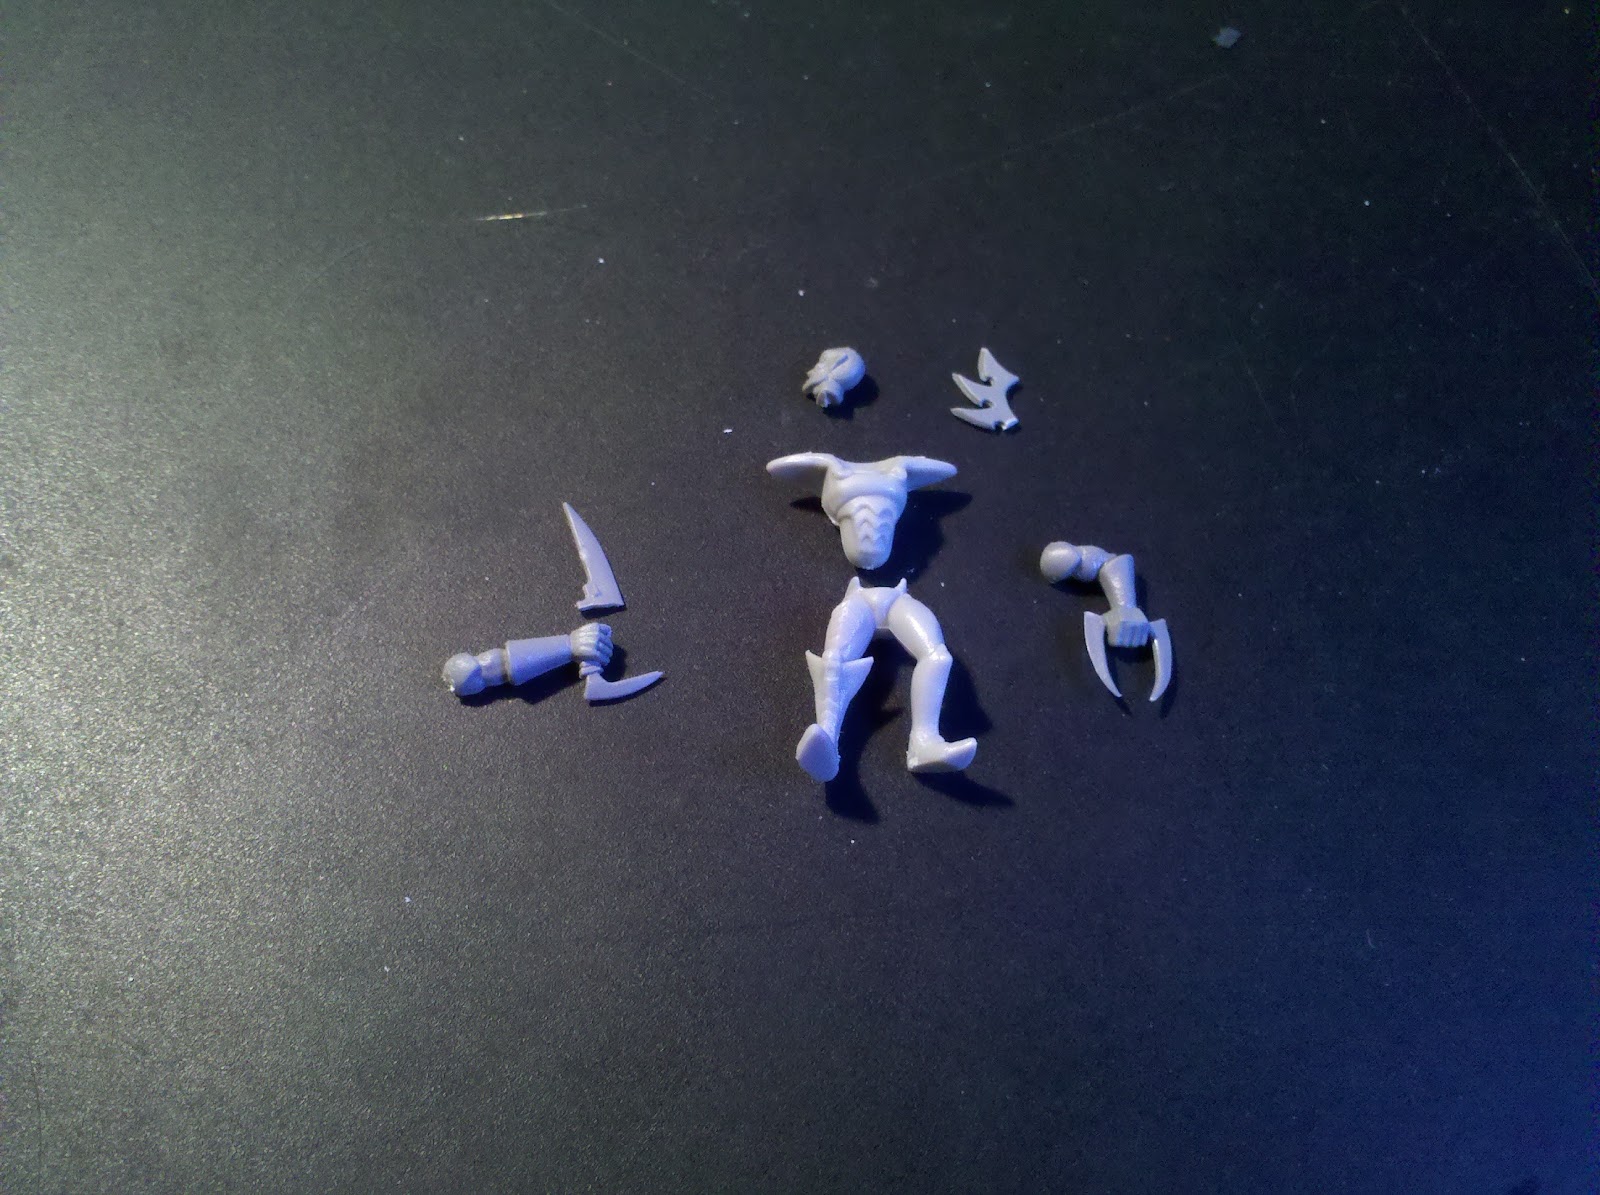
(2) Cut off the splinter pistol above the hand. Cut the knife bit above the handle.
(3) Shave off any spikes on the legs (if desired - not shown here).
(4) Leave the close combat arm as is.
(5) Cut the headdress 3 spikes down from the top.
Step Three: Glue!!!


For the Liquifier I did everything the same, except cut off the hand holding the Splinter Pistol after cutting off the top half of the Splinter Pistol. I then trimmed the edges of the Splinter Pistol in order to fit into the arm of the poor, poor Wrack. The same could be done with the knife bit in order to give the Wracks a more deformed look.
I'm still of the opinion that the best Wrack conversions are going to involve WHFB Tomb King Ghoul and Zombie bits, but if you have an abundance of extra Warrior sprues this method provides a cheap alternative.
Hi
ReplyDeleteOnly just come across your blog and am enjoying the content.
Like you I have a sizeable 3e army that i'm trying to reconfigure for the new codex.
I love the Coven side of things and so have been looking for good ways to build Wracks. Mine first squad is made up of the old metal Ghouls with hand transplants.
Your warrior conversions look good - I'll give them a try myself.
Anyway, keep up the good work.
Plus_Four